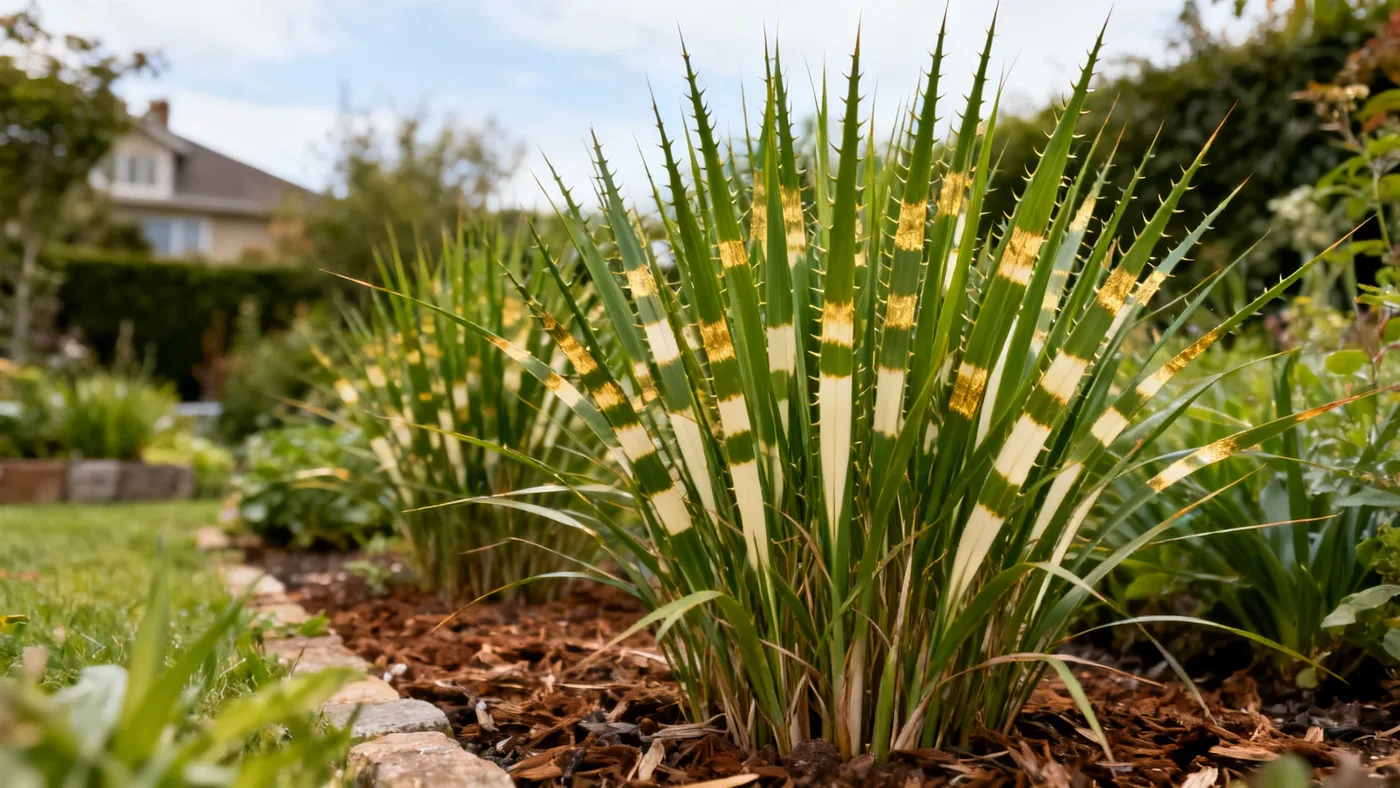
How to Propagate Porcupine Grass by Dividing Clumps
Dividing mature Porcupine Grass clumps is one of the simplest ways to multiply your plants and rejuvenate aging specimens. Unlike propagating porcupine grass from seed, which is unreliable, dividing miscanthus strictus clumps gives you genetically identical plants ready to establish in just a few months. If you have a mature plant reaching 5 to 7 feet tall, you likely have enough plant material to create two, three, or even more new plants. This guide walks you through the process of dividing Porcupine Grass so you can expand your garden, fill gaps in a planting scheme, or extend the life of your original plant.
Why Divide Porcupine Grass?
Porcupine Grass clumps can live 10 years or more, but without rejuvenation, the center of the plant may thin out or die back over time. Dividing every 3 to 5 years keeps plants vigorous and full. Division also lets you propagate porcupine grass without buying new plants, create a hedge or mass planting by splitting a single ornamental grass clump, and share plants with other gardeners. Additionally, splitting ornamental grass clumps reduces overcrowding, improves air circulation, and often results in fuller, healthier growth in year one after division.
The rejuvenation benefit is particularly valuable for plants approaching their third or fourth year. As a plant ages, the outer ring stays healthy while the center crown becomes woody or sparse. By dividing, you retain the vigorous outer sections and discard the exhausted middle, essentially resetting the plant clock.
When to Divide (Timing Matters)
Timing is critical for successful porcupine grass division. The best window is early spring, just as new shoots emerge from the ground and before the plant gets tall. In zones 5 to 8, this typically falls in late March through early April, depending on how quickly frost lifts in your area. In zone 9, divisions are possible a few weeks earlier. Never divide in fall or midsummer; dormant-season division reduces winter interest and invites crown rot, while summer division stresses new growth and leaves divided sections vulnerable to drought.
If you live in zone 7 or warmer, you can also divide in early fall to allow the new plants time to root before winter. Check your local frost dates and plan at least 6 to 8 weeks between division and your first hard frost. This window is tighter than spring division, so be strategic about timing if you choose fall.
Materials and Tools You'll Need
- Sharp spade or garden fork
- Pruning saw or Japanese saw (for thick, woody clumps)
- Heavy-duty pruning shears or loppers
- Bucket of water and a hose
- Work gloves (leather or thorn-resistant)
- Optional: a mat or tarp to contain soil and root debris
- Compost or composted bark (for backfilling)
- Balanced fertilizer, such as 10-10-10
How to Divide Porcupine Grass: Step-by-Step
- Cut back the foliage. If the plant has not been pruned yet that season, cut all stems back to 4 to 6 inches above ground using pruning shears. This makes it far easier to see the crown and root structure and reduces stress on newly divided sections. Work over a tarp to keep the workspace tidy.
- Water the clump thoroughly the day before. Moist soil clings to roots and makes separation less traumatic. If the ground is dry, water deeply 24 hours ahead of division. Soggy, waterlogged soil is harder to work with, so avoid watering on the day of division itself.
- Loosen the clump. Use a sharp spade to cut a circle around the plant about 6 to 8 inches out from the base. Work your spade under the plant and rock it back and forth to loosen the root ball. Porcupine Grass has dense, fibrous roots that form a tight plug, so be patient; this may take several passes with the spade blade at different angles.
- Lift the entire clump. Once loosened, drive your spade horizontally under the clump and pry it upward. You may need a helper, as a mature 3 to 4 foot wide plant can weigh 50 to 100 pounds. Roll it onto a tarp or into a wheelbarrow and move it to your work area.
- Break apart the clump. Set the clump upside down so you can see the root system and the growing points, which appear as small shoots emerging from the crown. Use your hands, a heavy-duty spade, or a pruning saw to divide the clump into sections. Each section should have at least 3 to 5 strong growing shoots and a healthy chunk of roots, roughly 4 to 6 inches across. Sections that are too small take longer to mature and may not bloom the first year.
- Trim damaged roots. Use pruning shears to clean up any torn, mushy, or circling roots. Remove dead material from the crown. You can dust the cut surfaces with a fungicide if you wish, though this is optional for Porcupine Grass in most climates.
- Replant immediately or prepare for storage. If planting the same day, keep divided sections in a bucket of water until you are ready to plant. If you must wait a day or two, wrap sections loosely in damp burlap or place them in a shaded area to prevent the roots from drying out. Do not allow roots to sit in standing water longer than 24 hours.
- Dig planting holes. For a natural look, space new divisions 3 to 4 feet apart, matching the plant's mature clump width. Holes should be wide enough to accommodate the roots without bending or coiling them. The top of the root crown should sit at or slightly above soil level; planting too deep invites rot.
- Backfill and water. Use native soil mixed with a shovel of compost to backfill. Press soil firmly around the roots to eliminate air pockets, then water thoroughly until water runs from the base. The soil should feel moist but not waterlogged.
- Apply a light fertilizer. A single balanced application, such as 10-10-10 applied at half strength, helps establish new divisions. Do not over-fertilize; excess nitrogen causes floppy growth. Wait until new leaves are 6 to 8 inches tall before applying fertilizer.
- Mulch lightly. A 1 to 2 inch layer of mulch around the base, keeping it away from the stem, reduces moisture loss and moderates soil temperature. Compost or composted bark work well. Remove mulch in fall so the plant can dry out before winter.
- Water consistently for 6 to 8 weeks. New divisions need consistent moisture as they establish roots. In the absence of rain, water deeply once or twice a week. Once new shoots are clearly growing and the plant shows vigorous green growth, you can reduce watering frequency.
Tips for Success
Divide in calm, cool weather. Wind and heat stress newly divided plants. Cloudy days or early mornings are ideal for this work.
Do not discard the old planting hole. If you are dividing a plant in place, the remaining crown, if you left one, will fill in. If you removed the entire plant, you can amend the hole with fresh compost and replant a new section immediately, or leave it open and allow it to settle before the next planting season.
Handle roots gently. Avoid letting roots dry out between digging and planting. Porcupine Grass roots are not delicate, but prolonged exposure to air and sun can reduce establishment rates. Keep divisions in shade and in a bucket of water until they go in the ground.
Avoid over-watering. Once established, Porcupine Grass tolerates short dry spells. Waterlogged soil, especially in clay, invites root rot. Water when the top inch of soil feels dry to the touch.
Do not fertilize in fall. Late-season fertilizer pushes tender new growth that may not harden off before winter. Wait until the following spring to feed.
Be prepared for a slower first season. Divided plants typically focus on root establishment in year one, so they may be noticeably shorter than the parent plant. This is normal and expected. By year two, divisions usually gain 1 to 2 feet per season as growth accelerates.
What to Expect After Division
New divisions may appear slow to start. In the first 4 to 6 weeks, you may see little above-ground growth as the plant allocates energy to roots. Once established, new shoots will emerge and grow steadily. Most divisions reach flowering size and a 3 to 4 foot clump spread within 2 to 3 growing seasons. Some divisions planted in early spring may bloom in late summer of year one, though flowers are often fewer and less showy than a mature plant. Fall color and winter interest develop over the same timeframe.
Your original planting hole recovers rapidly if you left a small section of crown; expect full regrowth within 2 to 3 seasons. If you removed the entire plant, the amended soil serves as a blank canvas for a new planting or a season of soil rest.
For more information on caring for your newly divided Porcupine Grass year-round, see the complete growing guide.
Quick Reference: Division Checklist
| Task | When | Notes |
|---|---|---|
| Cut back foliage to 4-6 inches | Early spring, just before division | Makes crown visible and reduces shock |
| Water the clump | 24 hours before division | Moist soil protects roots; avoid soggy conditions |
| Loosen and lift the clump | Early spring (late March–early April in zones 5-8) | Use a spade and pry method; get a helper for large plants |
| Break clump into 3-5 shoot sections | Immediately after lifting | Each section needs 4-6 inches of roots and 3-5 growing shoots |
| Trim damaged roots and crown debris | Right after separation | Use clean pruning shears; optional fungicide |
| Dig planting holes | Same day or next morning | Space 3-4 feet apart; crown at or slightly above soil level |
| Backfill, water, and lightly fertilize | Planting day | Use 10-10-10 at half strength; do not over-fertilize |
| Apply mulch (1-2 inches) | After planting | Keep mulch away from stem; remove in fall |
| Water consistently | 6-8 weeks after planting | Deeply once or twice weekly; reduce when growth is vigorous |
| Expect first growth spurt | Year 2 onward | Typical gain is 1-2 feet per year; flowering in 2-3 seasons |