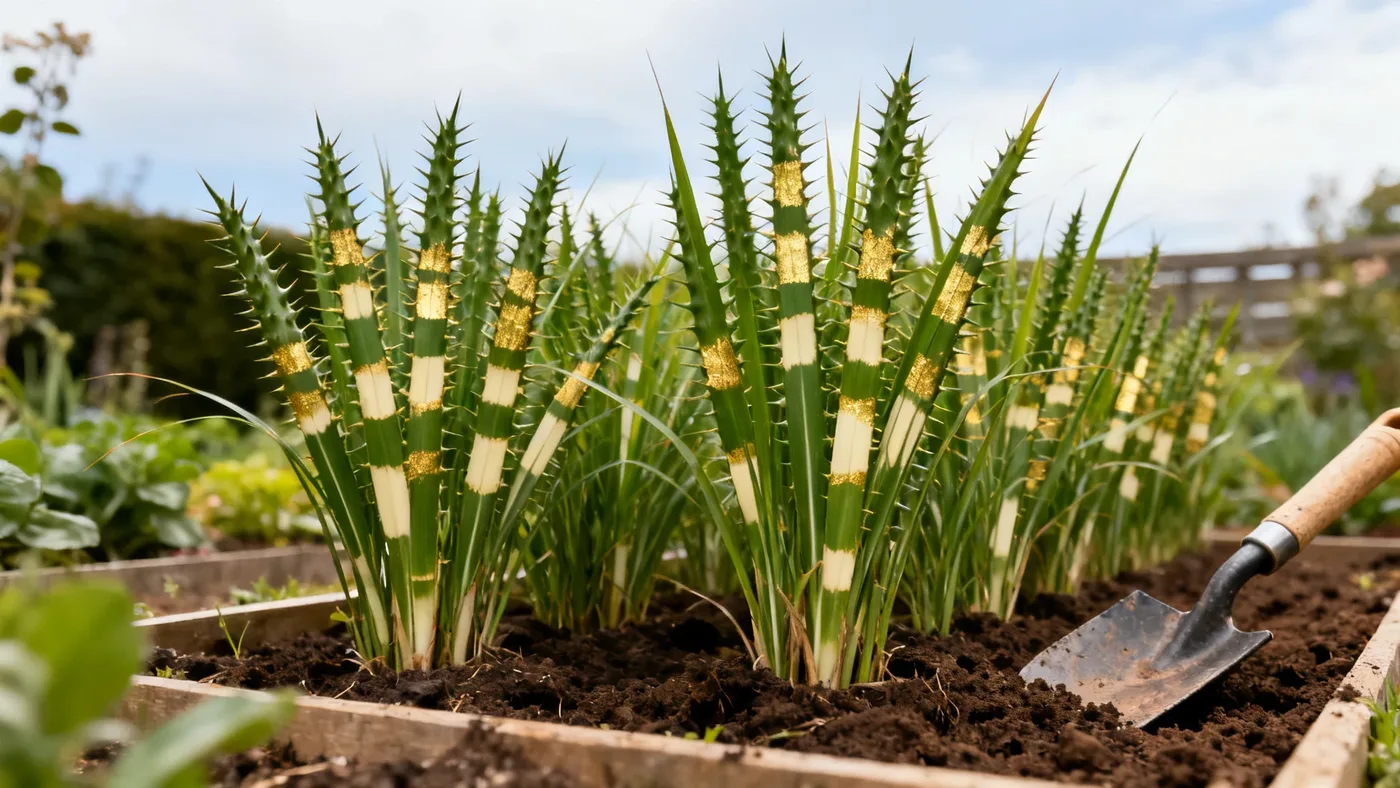
Porcupine Grass Spacing for Hedges, Borders and Mass Plantings
Getting the spacing right when planting Porcupine Grass is the foundation of a healthy, attractive installation. Too close, and your clumps will compete for water and nutrients. Too far apart, and the hedge will look thin for two years while waiting for maturity. This guide walks you through the spacing math for every layout, from privacy screens to mixed borders, with step-by-step instructions that account for your zone and planting timeline.
Materials and Tools You Will Need
- Measuring tape or marked rope (25 feet or longer)
- Wooden stakes or flagging tape to mark planting holes
- Shovel and digging bar (for clay or compacted soil)
- Quart or #1 size Porcupine Grass plants (the standard nursery container)
- Well-draining soil or amending compost if your site is heavy clay
- Watering can or soaker hose for initial establishment
- Pruning shears (for cutting back foliage if planting in early fall)
- Level and string line for straight borders or hedges
Spacing Fundamentals for Porcupine Grass
Porcupine Grass clumps mature to 3-4 feet wide within 2-3 growing seasons from a quart-size nursery plant. This mature spread is your anchor number. Whether you are creating a solid hedge, a textured border, or a mass planting, the standard recommendation is 3-4 feet between clump centers. This spacing allows:
- Enough room for roots to establish without competition in year one
- Gradual fill-in across years two and three, creating a cohesive mass
- Air circulation to prevent disease and reduce flopping
- Full expression of the upright form in full sun (see the complete growing guide for more on sun and form)
Use 3 feet apart if you want a tighter, faster-fill look for a hedge or dense border. Use 4 feet apart if you prefer an open, airy effect or if you are working with a smaller budget. Either spacing works; the choice is visual preference and project timeline.
Step-by-Step: Spacing and Planting
Step 1: Measure and Mark Your Planting Line
Decide whether your planting is a straight hedge, curved border, or loose mass. For a straight hedge or border, snap a chalk line or place a string line along your intended edge. Mark this line clearly with stakes every 10 feet so you do not drift as you work.
For a mass planting or naturalized area, sketch the area roughly on paper and mark it on the ground with spray paint or stakes at the corners. You do not need precision here, but you do need a clear boundary so you know when to stop.
Step 2: Calculate Planting Positions
Measure 3 feet (or 4 feet, if that is your choice) along your marked line from the starting point. Mark this spot with a wooden stake or small flag. Measure 3 feet again from that marker and mark the next spot. Continue until you reach the end of the line. Count your markers to know how many plants you will need. It is better to have an extra plant on hand than to run short halfway through.
For borders wider than one row, offset the second row by 1.5-2 feet horizontally so that plants in row two nestle slightly between plants in row one. This creates a more natural, visually balanced mass and improves air circulation.
Step 3: Dig Planting Holes
Dig a hole as deep as the root ball and twice as wide. If your soil is clay or compacted, loosen the sides and bottom of the hole with a digging bar so roots can expand without fighting hard soil. Amend the back-fill with compost if your soil drains poorly. Porcupine Grass adapts to most soils, including clay, but it performs best in moist, well-drained conditions.
Do this one hole at a time right before planting, or dig all holes at once and water them lightly to settle the soil.
Step 4: Plant and Backfill
Remove the plant from its container and gently loosen the root ball by hand, especially if the plant is root-bound. Set the plant in the hole so the top of the root ball is level with the soil surface. Do not bury it deeper. Backfill halfway, water to settle the soil, then finish backfilling and water again. The goal is a firm planting with no air pockets, but not so tight that water pools.
Step 5: Water Thoroughly and Mulch
Water each plant with 1-2 gallons of water immediately after planting. Over the next two weeks, water every 2-3 days if rainfall is absent. After establishment (roughly 4-6 weeks), Porcupine Grass tolerates average, consistent moisture and moderate dry spells, but plants perform best without prolonged drought in the first season.
Apply 2-3 inches of mulch around each plant, keeping it 2 inches away from the crown to reduce rot risk. Mulch moderates soil temperature, retains moisture, and suppresses weeds while the plants establish.
Step 6: Monitor and Maintain Through Year One
In spring after planting, the clumps will send up new shoots. By mid-summer of year one, your plants may be 2-3 feet tall. Do not expect full maturity yet. In year two, plants grow another 1-2 feet and begin filling out. By year three, clumps are typically at full width and height (5-7 feet tall in bloom), and your hedge or mass is solid.
Wait until late winter or early spring of the following year after planting to cut back the dried foliage. Never prune in fall, as doing so removes winter interest and invites crown rot. During the growing season of year one and two, deadheading is optional and does not improve performance.
Tips for Success
- Spring planting beats fall in most zones. Plant after your last spring frost. In zones 7-9, early fall (August-September) is an option if it gives roots 8-10 weeks before the first hard freeze. In zones 5-6, stick with spring.
- Full sun is non-negotiable for hedges. Porcupine Grass in part shade or light shade will be shorter, less rigid, and may flop after rain or heavy dew. For a formal hedge, give it at least 6 hours of direct sun.
- Do not over-fertilize. A single balanced (10-10-10) application in spring is enough. Rich soil causes soft, floppy growth and can open the clumps in the center.
- Offset rows for mass plantings. A staggered layout looks more natural and lets you fit more plants efficiently into an irregular space.
- Account for wind exposure. In very windy sites, consider 3 feet spacing rather than 4 to get faster lateral support from neighboring clumps, or stay with 4 feet but plant in a location with some shelter.
Common Mistakes to Avoid
Planting too close. Cramming plants 18-24 inches apart to achieve instant density will backfire. Clumps will compete, roots will circle, and centers may rot or decline by year three. The standard 3-4 feet is proven. Trust it.
Pruning in fall. Cutting back dried foliage in autumn removes the ornamental winter interest and opens the crown to rot when soil is wet and freezing. Prune only in late winter or early spring, just as new green shoots emerge.
Assuming immaturity is failure. A young Porcupine Grass clump 18 months after planting looks small compared to the intended hedge. This is normal. Growth is fastest in years two and three. Do not uproot or replant.
Ignoring sunlight for a season. A site that seemed sunny in July can be shaded by deciduous trees in spring. Scout your location across seasons before finalizing placement, especially for hedges where the form depends on sun exposure.
Expected Results by Timeline
Months 1-3 (first season): Plants establish roots and send up new foliage. Clumps may be 2-3 feet tall by midsummer. Do not judge maturity yet.
Months 4-12: By early fall of year one, plants enter dormancy, dried foliage persists, and you see the outline of your planting. The hedge or mass will look sparse.
Year 2 (spring through fall): New shoots emerge taller and wider than year one. Plants gain 1-2 feet in height. Clumps begin filling in, though they may not be touching yet at 3-4 foot spacing.
Year 3 and beyond: By late spring or early summer of year three, clumps typically reach full mature width (3-4 feet) and full height (5-7 feet in bloom). The hedge or mass planting is visually complete and coherent. Plants may bloom (coppery-pink to silvery-white plumes) starting in late summer through fall.
Quick Reference: Spacing and Planting Guide
| Use Case | Spacing | Row Offset (if applicable) | Planting Season | Full Effect by Year |
|---|---|---|---|---|
| Tight privacy hedge | 3 ft center-to-center | N/A (single row) | Spring after last frost | Year 2-3 |
| Loose/airy hedge | 4 ft center-to-center | N/A (single row) | Spring after last frost | Year 3 |
| Two-row border | 3-4 ft within rows | 1.5-2 ft offset, staggered | Spring (preferred); early fall in zones 7-9 | Year 2-3 |
| Mass planting (naturalized) | 3-4 ft irregular spacing | Staggered rows optional | Spring after last frost | Year 3 |
| Border accent, single clump | 3-4 ft from nearest large plant | N/A | Spring after last frost | Year 2-3 for full form |
For more on establishment and ongoing care, see how to plant Porcupine Grass: site, timing, and first weeks. Proper spacing is the first step; consistent moisture, full sun, and patience through year two seal success.