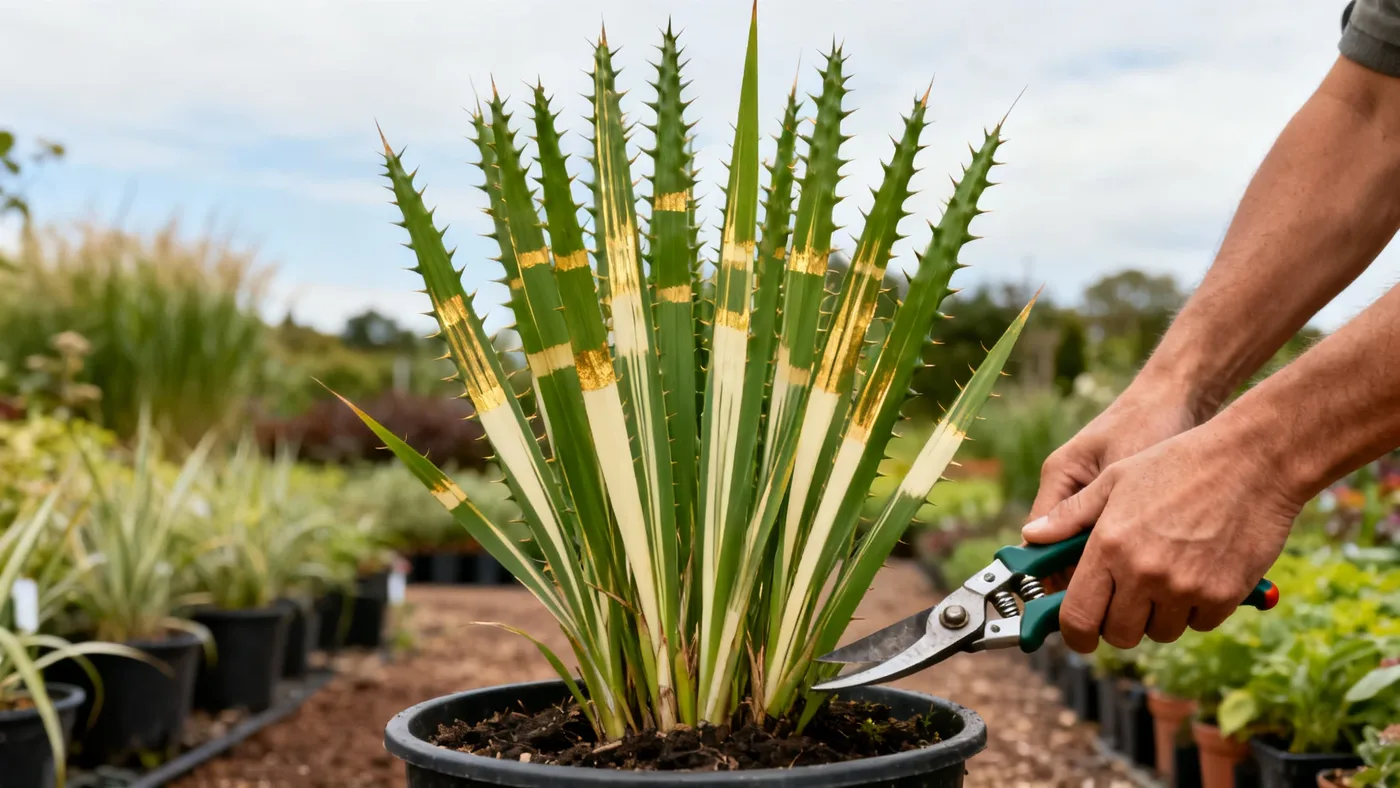
When and How to Cut Back Porcupine Grass Each Year
Cutting back Porcupine Grass is one of the most important annual maintenance tasks you can do. Done right, it encourages vigorous spring regrowth and keeps the plant healthy for years. Done wrong, you risk inviting crown rot or losing the winter interest that makes this grass special. The timing, height, and technique all matter.
Why This Maintenance Matters
Porcupine Grass (Miscanthus sinensis 'Strictus') is a warm-season ornamental grass. Unlike trees and shrubs that stay woody through winter, this grass dies back naturally as temperatures drop. The foliage fades to tan, beige, and soft gold colors. Left standing through winter, those dried stems add texture and movement, shelter insects, and catch frost beautifully. But come spring, the old growth must be removed so new shoots can emerge.
When you cut correctly and at the right time, you'll have a rejuvenated plant with fresh, upright growth. The new foliage displays the characteristic horizontal gold and cream bands more vividly than sun-faded older growth. Timing and height matter: cut in fall, and you risk crown rot and lose all that winter beauty.
When to Cut Back Porcupine Grass
Timing is critical. Cut back your Porcupine Grass in late winter or early spring, right before new growth emerges. The exact timing depends on your climate and when soil temperatures warm. In colder zones, this means late February or early March. In milder zones, late January or early February often works. Check your plant: when you see green shoots pushing at the base, that's your signal.
Never cut in fall. This removes the winter interest, exposes the crown to cold, and invites crown rot when moisture settles in. That dried foliage protects the plant. Let it stand through winter and cut only in late winter or early spring.
Tools and Materials You'll Need
- Sharp hedge shears or pruning saw (dull blades crush stems and stress the plant)
- Work gloves (dried foliage is stiff and can cut your hands)
- Safety glasses to protect eyes from flying debris
- A rake to gather cut material
- A tarp or trash bin for clippings
A sharp blade is essential. Dull tools tear the stems, make the job exhausting, and invite disease.
How to Cut Back Porcupine Grass: Step-by-Step
Step 1: Wait for the Right Moment
In late winter, inspect the plant base. If you see green shoots emerging, the plant is ready. If it's still uniformly brown and dry, wait longer. The timing window is short. You want to cut right as new growth starts, not weeks before.
Step 2: Sharpen Your Tools
Make sure your blades are sharp. A sharp pruning saw or hedge shear cuts cleanly through dried stems. Dull tools crush the foliage and invite disease.
Step 3: Cut All Foliage Back to 4-6 Inches
Working around the clump, cut all old foliage back to 4-6 inches above the soil. Your cuts don't need to be level; nature isn't level. Aim for that 4-6 inch range. Don't cut below 2 inches (you'll damage emerging shoots) or leave tall stumps (they look messy). If the clump is very dense, make two passes: cut the top half first, then tackle the lower growth.
Step 4: Clear All Cut Material
Rake up all dried foliage and stems. This is a substantial pile. Bag it for yard waste pickup, add it to a brush pile, or use it as mulch elsewhere in the garden. Leaving cut material in the clump promotes moisture retention and increases rot risk.
Step 5: Inspect the Crown
With foliage cleared, inspect the base of the plant. You should see healthy green shoots emerging from the crown. If the crown looks dark, mushy, or smells bad, the plant may have rot. Healthy plants recover fine; rotted ones may need division and rejuvenation in spring.
Tips for Success
Sharp blades save time and plant health. Work on a dry day if possible. Don't waste energy on perfect cuts; the plant will look beautiful regardless. Just focus on getting foliage to 4-6 inches.
If your plant is in a prominent spot, mark its location. New shoots are tender and easy to crush underfoot in early spring.
Spring right after cutting is the ideal time to divide your clump if rejuvenation is needed (typically every 3-5 years). The plant is about to surge, making division and replanting easier.
Common Mistakes to Avoid
Cutting too short damages emerging buds and exposes the crown. Cutting too tall leaves the plant ragged through spring. Leaving old foliage on strangles new growth and reduces vigor. Cutting too late (once green shoots are already large) damages the emerging shoots. And cutting in fall removes winter interest, exposes the crown, and invites crown rot.
What to Expect After Cutting Back
Within one to two weeks, fresh green shoots emerge from the base. In warm zones, this may happen within days. In cold zones, it may take three to four weeks if soil is still cool.
The new growth looks noticeably different: it's bright green, upright, and stiff. Over two to three months, the plant gains roughly 1-2 feet of height per month during peak growing season. By late spring, you won't see that the plant was cut. By midsummer, your Porcupine Grass is full-sized and dramatic.
Quick Reference Checklist
| Task | When |
|---|---|
| Watch for green shoots at the plant base | Late winter |
| Sharpen your pruning saw or hedge shears | Just before cutting |
| Cut all foliage back to 4-6 inches above ground | Late winter to early spring |
| Rake and remove all cut material | Immediately after cutting |
| Fresh green shoots emerge from the crown | 1-4 weeks after cutting |
| Plant recovers to full size | By midsummer |
| Never cut back | Fall (causes crown rot) |
For more detailed guidance on caring for your Porcupine Grass throughout the year, see our complete growing guide.