When to Transplant Porcupine Grass: Your Guide
Watch the low sun rake across a spot in the yard and you will know whether the grass standing there is in the right place or only in the way. Most people expect a clump this big to be a permanent resident, something you plant once and live with forever. Porcupine Grass is more forgiving than that. Cut low and lifted while it sleeps, an established clump moves, settles and comes back.
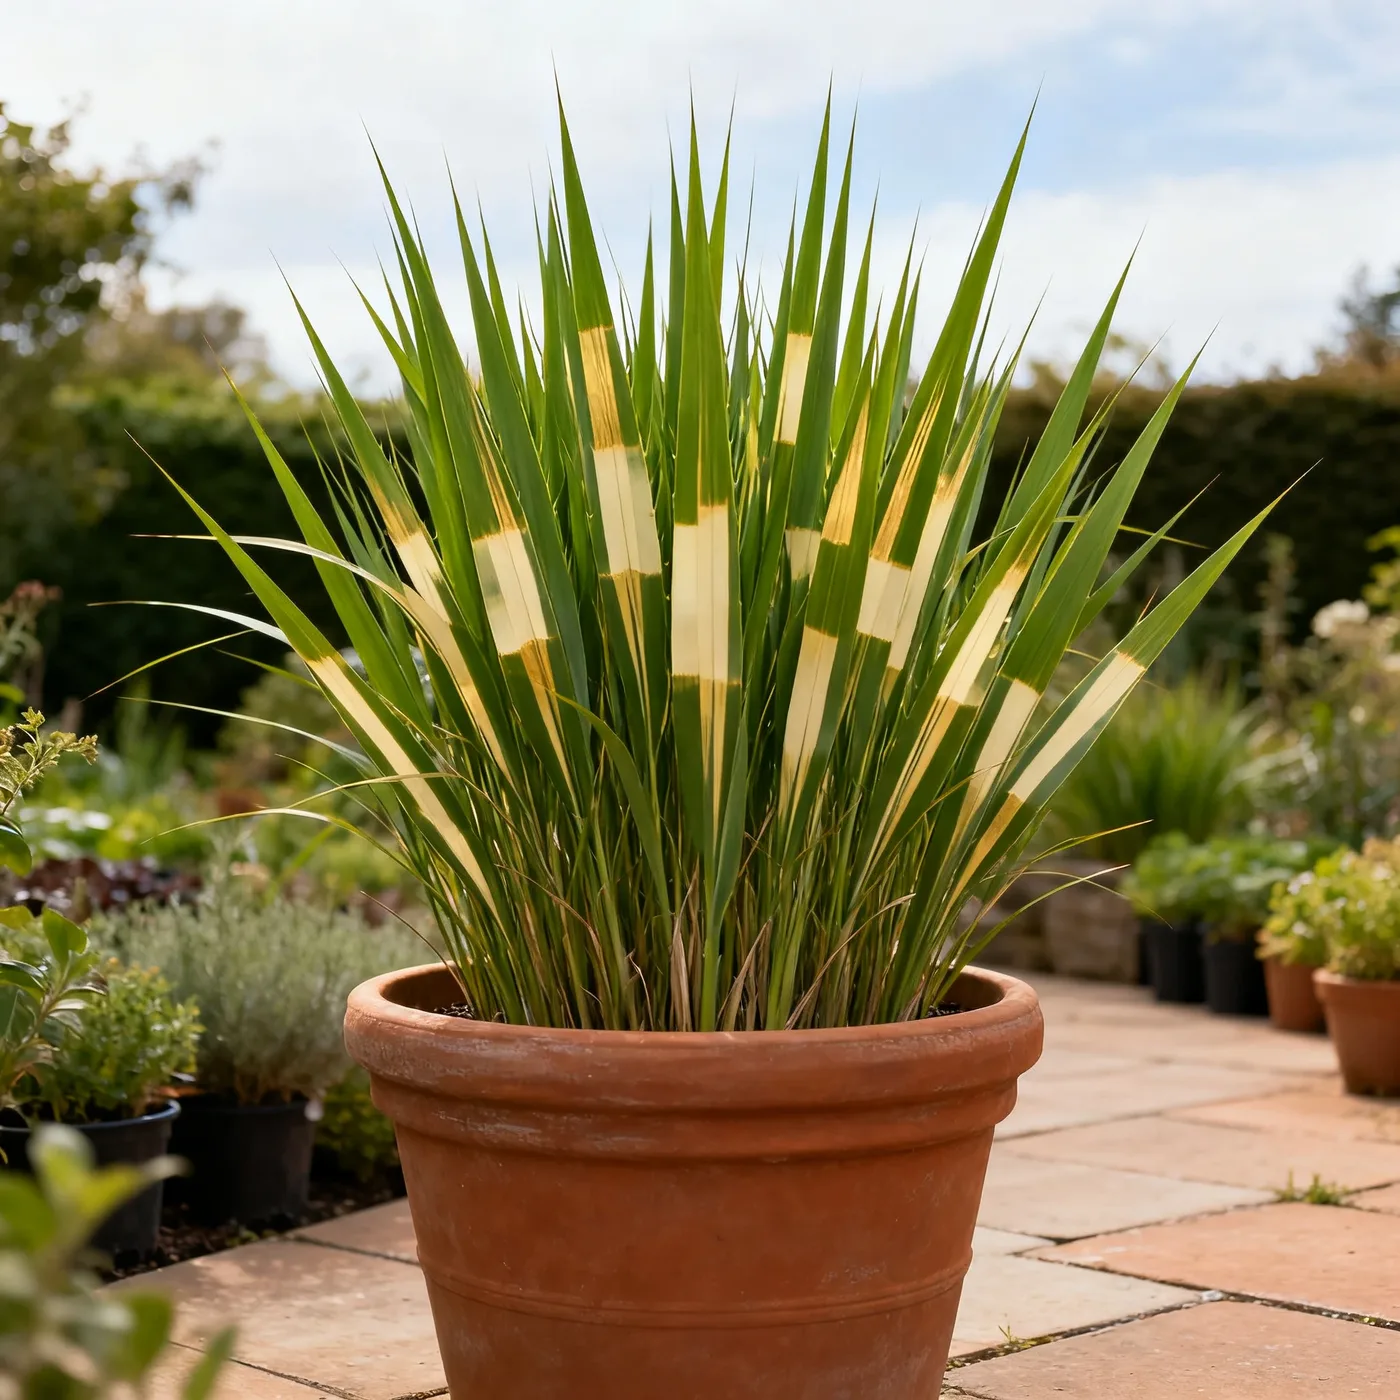
This article talks about when to transplant Porcupine Grass and answers the questions customers ask us most. Read on to learn how to cut the clump back, size and lift the root ball, set it down at the right depth, slice up a clump that is too heavy to carry, and water and read the plant through its first year in the new spot.
Why Porcupine Grass Wants a Hard Haircut First
Move Porcupine Grass in early spring, while the clump is still dormant and before new green shoots push through last year's straw. Miscanthus sinensis is a warm season grass and transplants best in the spring, and a sleeping clump has the least to lose. Check with your local extension service for your last frost date and aim for the weeks just ahead of it.
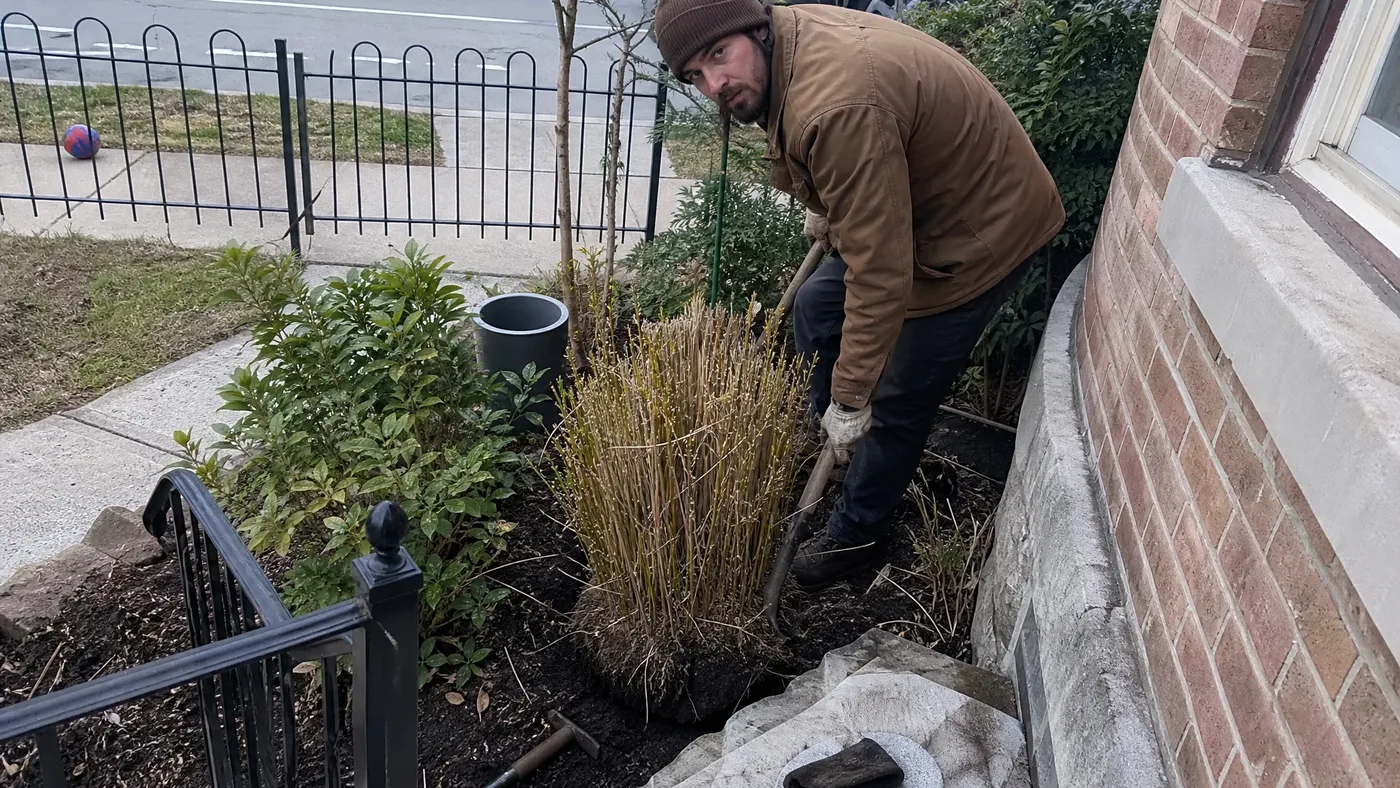
Before you touch a shovel, cut the whole top down. A mature clump is a dense mass 3 ft or more across with an upright 6 ft crown of stems, and the plumes of the summer before can climb as high as 9 ft. Leave all that standing and you are trying to lift a sail. Cut the foliage back to 4–6 inches and the clump shrinks to a low, readable dome.
The cut does more than save your back. With the stems gone, the roots have no tall canopy to keep supplied while they are severed and shifted, so the stress lands on the part of the plant best able to absorb it. New foliage grows from the crown later, and the roots only have to re-anchor.
Gather the stems into a few bundles with twine first, then cut below the ties so the straw comes away in armfuls instead of scattering across the bed. Wear gloves and long sleeves, because the leaf edges cut. The cut itself is the one in our guide on when and how to cut back Porcupine Grass each year, only made lower and made first.
Sizing the Root Ball to the Crown
Size the root ball from the crown, not from the size of your spade. Lay a garden hose in a ring around the stubble to mark the spread of the clump at ground level, which on a mature plant runs 3 ft or more. That ring is the part you cannot afford to lose, so the ball has to sit outside it.
Dig wider than the ring, never tighter. The roots are tough and dense, and there is no easy way to get a big old clump of grass out of the ground, so every inch you give up at the edge is fiber you will not get back. Widen the hose ring by about a spade's width all round and mark the new line with the tip of the spade.
Think of the depth as a wide, thick bowl rather than a deep plug. Most of the fiber crowds close under the crown, so a broad ball beats a narrow, tall one. Stop undercutting once the blade slides beneath the whole mass and the clump begins to rock.
Customers usually ask us how big the ball has to be, and our answer is always wider than feels reasonable. Be honest about weight, too. A ball cut to a 3 ft crown is a wet, packed mass that two people will struggle to carry, and if the ring you marked is more than you can handle, go straight to the section on slicing the clump into sections.
Choosing the New Light for Porcupine Grass
Pick the new position by watching how light crosses it, not by studying a plan. 'Strictus' is a full sun grass, and the maiden grass group it belongs to needs at least six hours of sunlight. Our guide to Porcupine Grass sun requirements covers how it behaves with less, but a move is the moment to give it the best light you have.
Read the Light Through the Day
Stand in the candidate spot in the morning, at midday and again in late afternoon, and note where shade from fences, trees and the house actually falls. A spot that looks open in June can be shaded by a neighbor's tree in September. Count the hours of direct sun before you commit.
Think about the show, too. The plumes open in late summer in rosy-plum and fade to silver, and low afternoon sun from behind them lights each one like a lantern. A clump with the setting sun at its back looks twice the plant that the same clump does in flat front light.
Mind the shadow it throws. 'Strictus' grows more upright and erect than zebra grass, so it casts a narrow, tall shadow rather than a wide one, but with plumes reaching up to 9 ft that shadow still falls on whatever sits to its north. Put smaller plants to the south or east of it.
Prepare the New Spot First
The clump prefers fertile, moisture-retentive loam and does poorly in very wet ground. Dig the new hole before you lift anything, wider than the ball you measured and no deeper than the ball is tall. Our guide to how to plant Porcupine Grass covers soil prep in more detail.
Lifting a Heavy Clump Without Wrecking It
A clean lift is mostly patience. Work in the order below, and do the whole job in one session so the roots spend as little time as possible out of the ground.
- Water the clump the day before if the soil is dry, so the soil clings to the roots instead of falling away.
- Push a sharp spade straight down along the outer line you marked, working all the way round to cut the roots cleanly.
- Dig out a working trench just outside that cut so you have room to angle the blade.
- Undercut from every side with the blade tilted in toward the center, and use a long bar to lever the ball loose.
- Rock the clump gently and slide a tarp or a piece of burlap beneath it.
- Drag the tarp, or lift with a helper at each side, straight to the new hole.
Keep the soil on the roots at every stage. If the ball starts to crack, wrap it in burlap and tie it before you move it. Lift with your legs, not your back, and never carry the ball by the stubble, which will tear free.
In our rows, the clumps that struggle are nearly always the ones left sitting on a tarp in the sun for an afternoon. Get the new hole ready, keep the walk short, and set the ball down the same day.
Setting the Porcupine Grass Clump Down at the Old Depth
Plant the clump at the same soil level it grew at before. Look for the line where the stubble meets the soil on the ball, and set that line level with the surrounding ground. Lay a shovel handle across the hole to check, and lift or lower the ball with a little soil underneath until the crown sits flush.
Too deep is the common error. A buried crown stays wet and sulks, and the new shoots have farther to climb in spring. Too high is nearly as bad, because the exposed upper roots dry out quickly. If you are unsure, err on the side of a crown that is level with the soil, never below it.
Turn the clump so the best side faces the view, then check that it stands straight. Pull the tarp or burlap free, or cut away any burlap you can reach, and trim loose twine. Look over the sides of the ball for cracks and push loose soil into them.
Backfill in layers, firming each one with your hands and then your heel to close air pockets around the roots. Do not pound it hard, just enough that the ball does not rock. Fill to the original level, form a low rim of soil around the clump to hold water, and soak it thoroughly right away.
When the Clump Is Too Big to Lift
Sometimes the ball simply will not budge. That is a signal to divide the clump where it sits and move it in pieces, which works just as well as moving it whole. Colorado State's PlantTalk says a big clump can be dug up and cut apart with a sharp spade, a large knife, an axe or even a chainsaw, and that is the approach we recommend.
Open the Clump With a Crescent Trench
For the first piece, dig a crescent shaped trench on one side and then split the clump with an ax. Cut straight down through the crown, lift that section out and carry it to its new spot. Repeat on the remaining mass, halving and then quartering it until each piece is a size you can manage.
Every section must keep roots and the stubby crown on top. A chainsaw is a last resort because soil dulls the chain quickly, and a sharp spade and a hatchet do the job for most clumps. The details are close to those in our guide to propagating Porcupine Grass by dividing clumps, except here the goal is moving, not multiplying.
Replant Each Section on Its Own
Treat each section as a small clump. Set it at its old soil level, firm the backfill, and water it in. Replant promptly, because exposed roots dry quickly. Give the sections room to widen, since a mature clump runs 3 ft or more across, and the plant takes 2–5 years to reach its full height again. The sections will grow back together in time if you place them closely.
Watering and Watching Porcupine Grass Through Year One
Water deeply right after planting, then keep the soil evenly moist. Keep newly planted ornamental grasses well-watered throughout the first growing season, and do not let the clump dry out in a spell of warm weather. Our guide to watering Porcupine Grass lays out the rhythm in more detail.
Finish with a layer of mulch up to 3 inches deep, which PlantTalk also recommends after replanting. Keep it a hand's width back from the stubble so the crown stays dry. Mulch holds moisture in the root zone and saves you from daily watering in the first summer.
A moved clump looks worse before it looks better. The stubble will sit bare for a while, and the fresh shoots come slowly from the crown. The table below shows what normal looks like through the first year, and what to do at each stage.
| Stage | What normal looks like | What to do |
|---|---|---|
| First weeks | Bare stubble, no visible growth | Keep the soil evenly moist and leave the clump alone |
| Mid spring | Green shoots rise from the crown | Keep watering and check the mulch |
| Early summer | Blades lengthen and the clump fills out | Water through dry spells |
| Late summer | Plumes may be fewer or shorter, rosy-plum turning silver | Enjoy them and do not fertilize to push growth |
| Next spring | A full flush of growth | Return to the normal yearly cut |
We often see people dig up a quiet clump to "check the roots" and tear the new ones. Resist that urge. If the stubble stays dead and the crown feels soft once the season is well along, look at drainage, because a clump sitting in wet ground is the usual culprit.
A Porcupine Grass Move, Start to Finish
The job runs in a simple order. Wait for early spring while the clump is dormant, cut the top down to 4–6 inches, mark a root ball wider than the crown, and dig the new hole in good light before you lift. Dig and undercut, carry the ball on a tarp, set it at its old depth and firm the backfill. If the clump is too heavy, split it with a sharp spade or ax and move the pieces.
Then water, mulch and wait. Picture it a season on, the clump back in late-summer light, plumes catching the sun in their new spot.
Porcupine Grass
Nursery-grown Porcupine Grass in sizes from Quart, shipped to your door.
From $19.99
Shop Now →Porcupine Grass gets full sun and a rich, damp-leaning loam on our farms, and every late winter we cut the clumps down before the first green appears. Our growers are a small crew who tend top-quality grasses on land that belongs to us. Once you have the timing of your move worked out, we would love for you to choose a Porcupine Grass for your own garden.