Best Soil for Porcupine Grass: Drainage, pH and Amendments
Porcupine Grass (Miscanthus sinensis 'Strictus') adapts to most soils, from clay to sandy loam. The plant is not fussy about growing conditions, but it still has preferences. Give it the soil it likes, and you get stronger clumps, better upright form, and fewer problems. Prepare the site correctly before planting, and you'll save yourself years of correcting issues.
Why Soil Matters for Porcupine Grass
Soil quality affects how tall your grass grows, how rigid the stems stay, and whether the clump splits open after rain. The right soil means consistent moisture without waterlogging. Poor drainage causes root rot. Too-rich soil (high nitrogen) encourages soft, floppy growth that topples in wind or storms. pH mismatches don't kill the plant, but they do limit nutrient uptake.
Getting the foundation right takes one afternoon of work. Once established, Porcupine Grass needs little maintenance. The effort up front pays for itself.
Understanding Porcupine Grass Soil Requirements
Soil Type and Texture
Porcupine Grass tolerates clay, loam, and sandy soils. It prefers moist, well-drained soil but is adaptable. Avoid pure sand (drains too fast, no nutrient retention) and pure clay (stays wet, compacts easily). If you have clay, break it up and add organic matter. If you have sand, boost water retention with compost or aged manure.
Drainage is Non-Negotiable
The most common mistake is planting in a spot that stays soggy. Porcupine Grass performs best with average, consistent moisture, not wet feet. Waterlogged soil invites root rot and fungal disease. In low spots or heavy clay areas, raise the planting bed 4 to 6 inches above grade, or amend the soil deeply to improve percolation.
Established plants tolerate short dry spells, but they are not drought-tolerant grasses. They need regular water during the growing season (spring through early fall). Mulching helps retain moisture without trapping water around the crown.
pH Range
Porcupine Grass grows well in soils with a pH between 5.5 and 7.5. This is acidic to neutral, a range that covers most gardens. Most amendments and routine gardening practices keep soil in this zone naturally. If you suspect extreme pH, test your soil first. An inexpensive kit from any garden center takes the guesswork out.
Materials You'll Need
Before you dig, gather these materials. You may not need all of them, but having them on hand makes the job smooth.
- Compost or aged leaf mold (3 to 4 cubic yards for a 100-square-foot bed)
- Peat moss or coconut coir, if your soil is heavy clay (1 to 2 cubic yards)
- Perlite or coarse sand, for drainage in clay (1 cubic yard)
- Balanced slow-release fertilizer (10-10-10 NPK)
- Mulch (shredded bark or aged wood chips, 2 to 3 inches deep)
- Soil testing kit or extension service test results
- Spade or garden fork
- Rake
- Work gloves
- Watering can or hose
Step-by-Step Soil Preparation
1. Test Your Soil
Take a sample from the planting area, 4 to 6 inches deep. Send it to your local extension service, or use an at-home kit. Note the pH, drainage class (how quickly water percolates), and organic matter content. This baseline tells you exactly what to amend.
2. Break Up Compacted Soil
Use a spade or garden fork to loosen the top 12 inches of soil. In heavy clay, go down 18 inches if possible. Break up clods and remove rocks. Compacted soil drains poorly and resists root penetration. Porcupine Grass roots need loose, friable soil to establish quickly.
3. Amend for Drainage (If Needed)
If your soil is clay-heavy or poorly draining, mix in peat moss or coconut coir (15 to 20 percent by volume) and coarse sand or perlite (10 to 15 percent). Spread the amendment evenly over the bed, then work it in with a fork. The goal is a soil that holds moisture but doesn't waterlog. Squeeze a handful of amended soil: it should hold together lightly, then break apart when you press it.
4. Add Organic Matter
Spread 2 to 3 inches of compost or aged leaf mold over the prepared bed. Work it into the top 6 inches. Organic matter improves structure in all soil types, boosts nutrient availability, and supports beneficial soil microbes. Do not overdo nitrogen-rich amendments (fresh manure, high-nitrogen fertilizers). They cause the grass to flop and split in the center.
5. Adjust pH if Needed
If your test showed pH below 5.5, add agricultural lime according to package directions. If pH is above 7.5, add sulfur. Most gardens fall within the target range, so this step is optional. Follow extension service recommendations for the rate based on your soil type and test results.
6. Level and Rake
Rake the bed smooth and even. Remove any remaining large stones, roots, or debris. The planting surface should be level so water doesn't pond in depressions.
7. Apply Mulch
Spread 2 to 3 inches of shredded bark or aged wood chips around the planting area, keeping mulch 2 inches away from the crown. Mulch moderates soil temperature, suppresses weeds, and conserves moisture. Avoid fresh wood chips or dyed mulches, which can introduce pathogens or toxins.
8. Water the Bed
Water thoroughly until the soil is moist to a depth of 12 inches. Let it settle for a few days before planting. This allows air pockets to close and amendments to integrate.
Planting Porcupine Grass in Your Prepared Soil
Spring after the last frost is the ideal planting time. Transplants from the nursery are often sold in quart or #1 containers. Space plants 3 to 4 feet apart. Dig a hole as deep as the root ball and twice as wide. Set the plant level with the surrounding soil, not deeper. Backfill with the amended soil you prepared, firm gently, and water well.
In zones 7 and warmer, early fall planting is also acceptable, giving roots time to establish before winter. For zones 5 and 6, wait until spring to avoid winter heave.
For more detailed guidance on planting and long-term care, see our complete growing guide.
Tips and Common Mistakes to Avoid
Do Not Over-Fertilize
Porcupine Grass is a light feeder. A single balanced (10-10-10) application in spring is enough. Too much nitrogen causes rank, floppy growth. The stems lose rigidity and split open under wind or rain. Resist the urge to feed it like a vegetable garden.
Mulch Correctly
Keep mulch away from the crown. Mulch piled against the base traps moisture and invites rot. Maintain a 2-inch clear zone around the base of the plant.
Don't Let It Dry Out for Long
While established plants tolerate short dry spells, prolonged drought stresses them. In extended hot, dry weather, water deeply once a week. Consistent moisture produces stronger clumps and better fall color.
Choose Full Sun
Porcupine Grass displays its best color and form in full sun. Part shade reduces the vividness of the foliage bands and causes stems to lean. If your spot gets less than 6 hours of direct sun, expect the grass to flop more readily after rain.
Test Before You Amend Heavily
A soil test saves money and prevents over-application of amendments. You might think you need lime or sulfur when your soil is already correct. Home tests are inexpensive and take minutes.
Expected Results
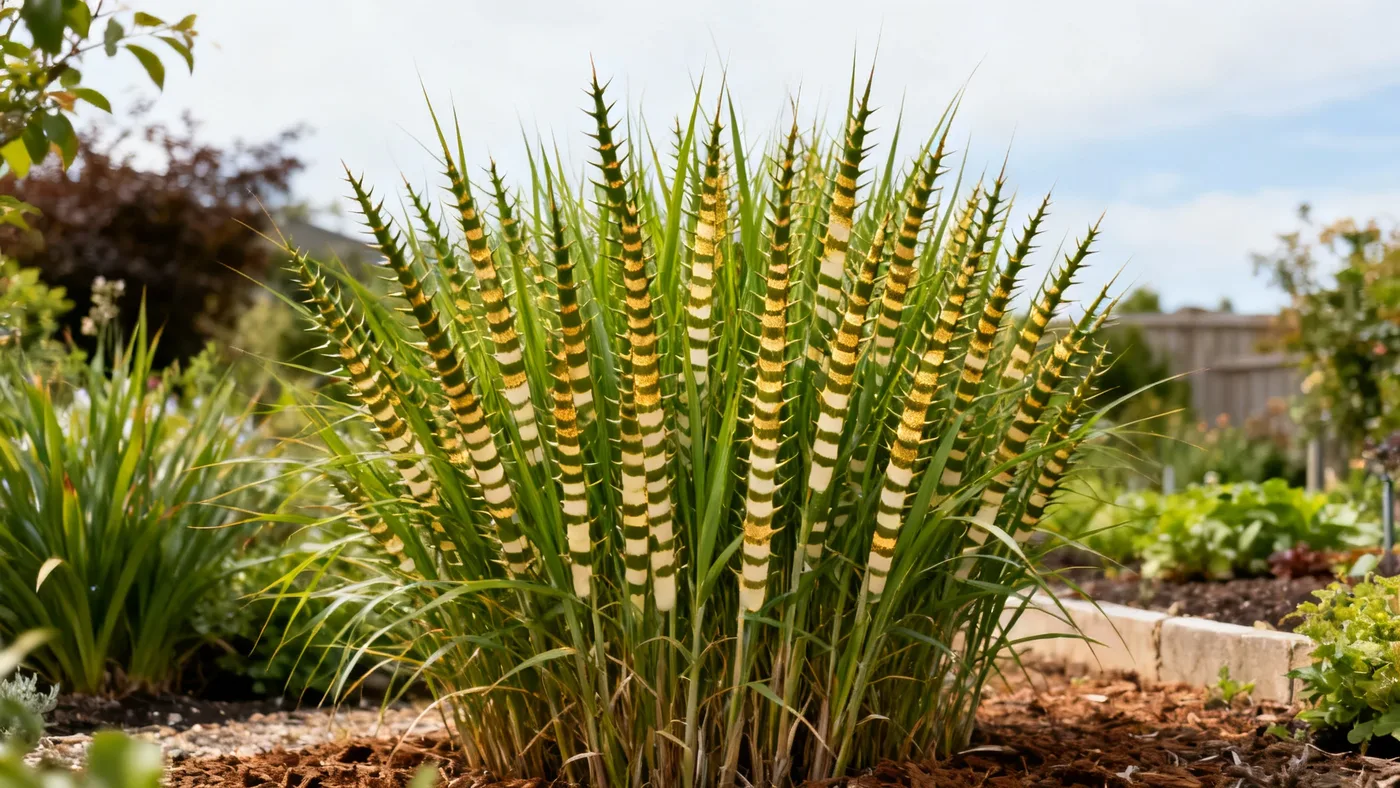
With well-prepared soil, young plants may gain 1 to 2 feet of height per year until reaching full size in their second or third growing season. Mature clumps typically reach 5 to 7 feet tall with flower plumes and spread 3 to 4 feet wide. The striped foliage appears bright and distinct, and stems stay upright without staking.
Plants established in poor or compacted soil may lag in height and vigor. They may also be more prone to disease in wet conditions or flopping if soil is too rich. The investment in soil preparation now prevents years of underperformance.
Quick Reference: Porcupine Grass Soil Checklist
| Soil Aspect | Target Range or Action | Why It Matters |
|---|---|---|
| pH | 5.5-7.5 | Ensures nutrient availability and root health |
| Soil Type | Loam, amended clay, or sandy loam | Provides structure and water retention |
| Drainage | Well-drained but not sandy | Prevents root rot; supports consistent moisture |
| Organic Matter | 2-3 inches of compost worked in | Improves structure and nutrient cycling |
| Nitrogen Level | Balanced; avoid excess | Prevents soft, floppy growth |
| Moisture | Average, consistent, never waterlogged | Maintains vigor; reduces disease |
| Mulch Depth | 2-3 inches, 2 inches from crown | Conserves moisture without trapping water |
| Sunlight | Full sun (6+ hours direct daily) | Maximizes color and upright form |